
Guides
Introduction
The Guides section is your starting point for hololive Dreams — covering rhythm loop fundamentals, holomem training, park-building basics, and gacha resource planning. Each guide is written for a specific player stage, from your first hour through mid-game progression, so you can pick the right next step without wading through walls of text. New players should follow the numbered steps in the Beginner Guide; returning players can jump straight to the resource planning or advanced strategy guides. All guides reference official in-game systems and have been verified against the v1.0.0 launch build, and each one links forward into the matching Tier List, Charts, or Holomem article so you can keep exploring the wiki without losing context or repeating the same fundamentals twice.
Beginner Roadmap
| Step | Task | Why It Matters |
|---|---|---|
| Step 1 | Clear the tutorial rhythm chart | Unlocks your starter 5-star holomem and the core game loop |
| Step 2 | Build your first park attraction | Starts the passive XP and currency engine for your roster |
| Step 3 | Run Hoppin' Rope once per day | Free stamina and currency from the cooperative mini-game |
| Step 4 | Pull on the standard banner | Lock in a leader holomem with a strong passive skill |
| Step 5 | Join a co-op session | Unlocks the multiplayer reward track for gems and tickets |
Onboarding Steps
Beginner Guide
Your first hour in hololive Dreams
Daily Routine
What to do every day for steady progression
Resource Planning
Where to spend your gems, tickets, and XP books
Beginner Mistakes
Common pitfalls new players run into
Cross-Save Guide
Sync progress between mobile and Steam
Core Mechanics
The Guides system uses metadata tags (difficulty, category, order) to make it easy to filter articles. Beginner guides assume no prior knowledge and walk through every mechanic in detail; Intermediate guides assume you have a working roster and focus on optimizing that roster; Advanced guides cover edge cases, theory-crafting, and meta shifts after each patch. Each guide links to related articles so you can dive deeper without losing context, and every guide carries a last-updated timestamp so you can tell at a glance whether the advice is still current for the v1.0.0 launch build. Difficulty ratings and patch-version flags are stable across the wiki, so a Beginner-tagged article will never quietly assume Tier-3 park unlocks or late-game holomem board progression.
Advantages
Guides are written from in-game testing and community feedback, with specific strategies instead of generic tips. Every guide includes actionable recommendations — exact team compositions, skill priorities, and timing windows — so you can apply what you read immediately. The guide library covers both fundamentals for new players and advanced strategies for endgame content, with updates whenever a significant patch changes mechanics. Each guide is paired with a Featured Card on the category homepage, a Quick Tip at the top of the article, and a FAQ section at the bottom, so you get a layered reading experience whether you skim or read end-to-end. Cross-links between guides and the deeper Tier List or Charts articles make it easy to keep exploring the wiki without backtracking or hunting for related strategies across multiple sections.
Challenges
Patch day can briefly outdate some guides as new holomem or chart rebalances land; check the Update Notes category for the latest changes before trusting any number. Some early-game values will be tuned during the first season, so guides are written with safe ranges rather than exact figures. Endgame meta is still settling — Tier List rankings will likely shift as more players reach max level, and Beginner-Guide pull priorities may change after the first balance patch. The wiki flags the most volatile sections with an asterisk and links the relevant patch note so you always know which numbers to re-check, and the Updates category is the canonical source for re-verification before trusting a flagged number from the Guides section.
Frequently Asked Questions
Where should a brand-new player start?+
How often are guides updated?+
Are these guides free-to-play friendly?+
Can I suggest a guide topic?+
Quick Tips
Always run Hoppin Rope once per day even if you do not need the stamina — the gem rewards stack up over a month and unlock the multiplayer reward track faster than almost any other activity. The time investment is under three minutes once you have a stable rhythm-loop pattern down for the easier charts, so treat it as a daily login bonus rather than a grind step and your monthly gem payout will cover a meaningful chunk of your 100-pull pity budget without burning stamina on lower-payout activities.
Place your three starter attractions in adjacent tiles for the combo bonus before upgrading anything; the early XP multiplier is worth more than a higher-tier single attraction, and the adjacency bonus scales with park level rather than attraction tier, so this advice stays valid even after several balance patches shift the upgrade curves. Re-plan the layout at each park-level breakpoint rather than chasing a single maxed tile, and pair the placement order with the recommended-holomem tags for the early XP boost.
Save premium gems for rate-up banners of holomem you actually plan to use as a leader — pity carries over but featured rate-up does not, so spread pulls across two featured banners per cycle rather than dumping a hundred pulls on one banner and missing the next. Pair this rule with the Tier List rankings to identify your two highest-priority targets before each banner window opens, and check the Gacha category banner calendar so you do not pull on a banner that closes before you reach the pity threshold.
Featured
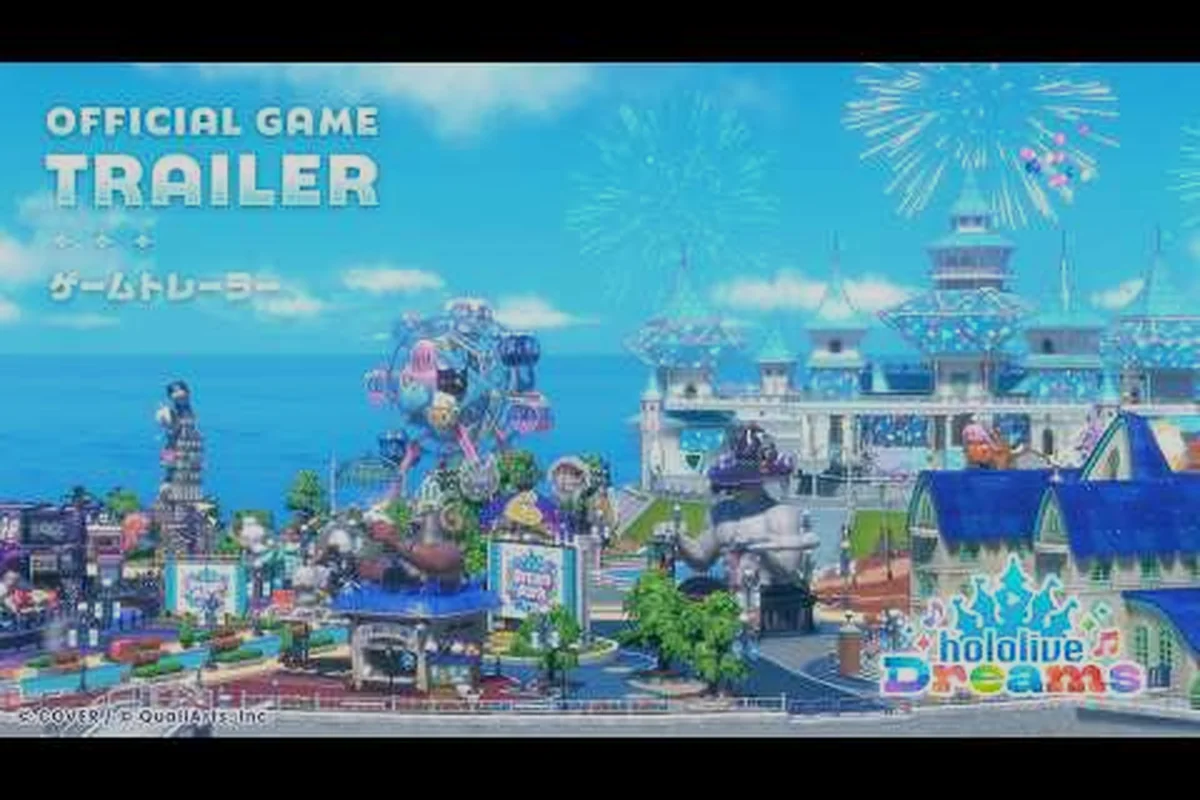
Hololive Dreams Beginner Guide: Start Your First Hour
Hololive Dreams beginner guide covering rhythm timing, holomem setup, starter gacha pulls, Dream Park tips, and quest loop for new players.

Hololive Dreams Rhythm Basics: Timing, Notes & Combos
Hololive Dreams rhythm basics guide covering note types, timing windows, combo multipliers, judgment grades, and chart difficulty scaling from Easy to Master.
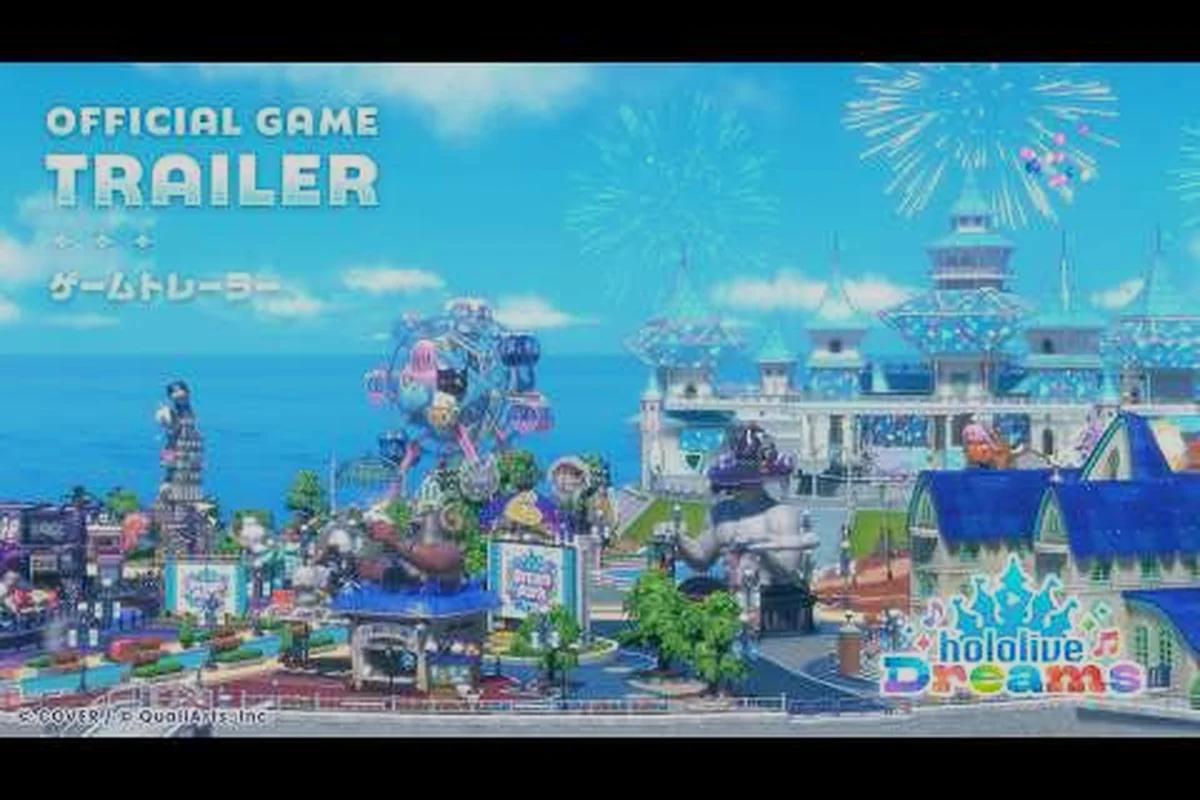
Hololive Dreams Resource Management: Crystals, Gold & EXP
Hololive Dreams resource management guide covering crystal spending, gold income sources, holomem EXP optimization, and park passive generation priorities.
All Articles

Hololive Dreams Holomem Formation Guide: Five-Unit Team
Hololive Dreams holomem formation guide covering leader slot choice, tag adjacency, formation switching, and how to build a five-holomem squad that scales across modes.

Hololive Dreams Dream Park 101: Build, Assign & Earn
Hololive Dreams Dream Park beginner guide covering facility placement, holomem assignment, tag matching, visitor waves, and how to optimize passive gold from your park.

Hololive Dreams Create Chart Tutorial: Full Guide
Hololive Dreams Create Chart tutorial covering the in-game chart editor, note placement, difficulty tagging, BPM calibration, and the official submission pipeline.
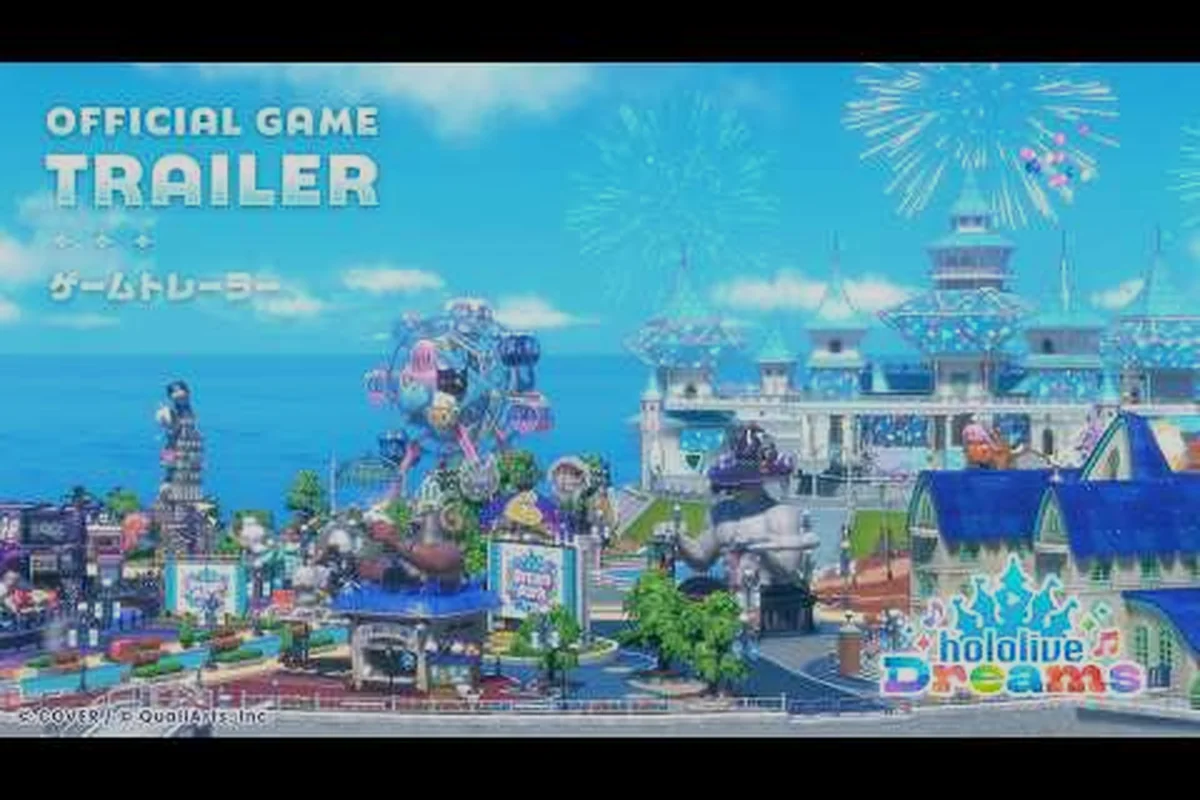
Hololive Dreams Gacha Pulling Strategy: Pity & Odds
Hololive Dreams gacha pulling strategy covering Pity system, banner rotation, beginner banner timing, 10-pull vs single pulls, and how to plan 100-pull guarantees.

Hololive Dreams Co-op Quests Guide: Pair, Sync & Rank Up
Hololive Dreams co-op quests guide covering partner pairing, mirror chart sync, scoring ranks, and reward tier optimization for two-player rhythm co-op.

Hololive Dreams Save Data Transfer & Cross-Play Guide
Hololive Dreams save data transfer guide covering platform linking, cross-progression between Steam and mobile, account binding, and how to keep your account safe.
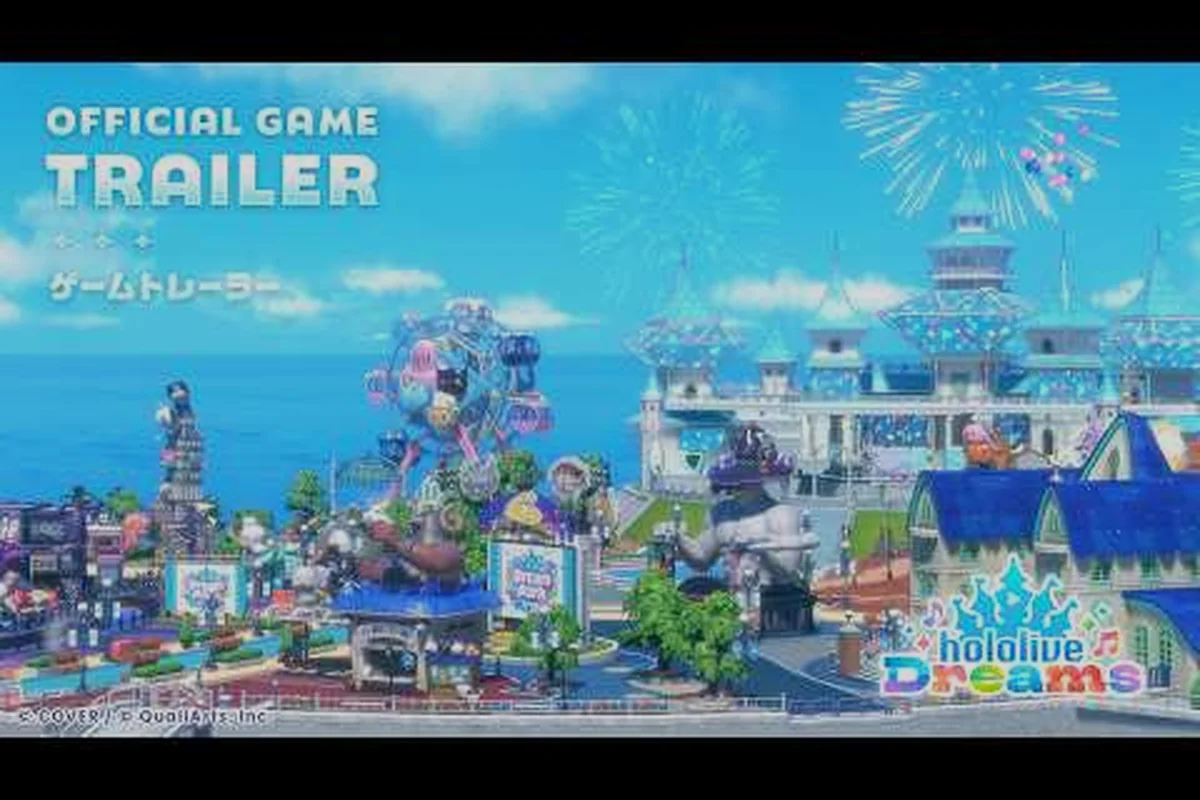
Hololive Dreams Daily Quests Checklist: Full List
Hololive Dreams daily quests checklist covering reset times, reward tiers, quest types, and the optimal daily routine to maximize crystal and EXP income.
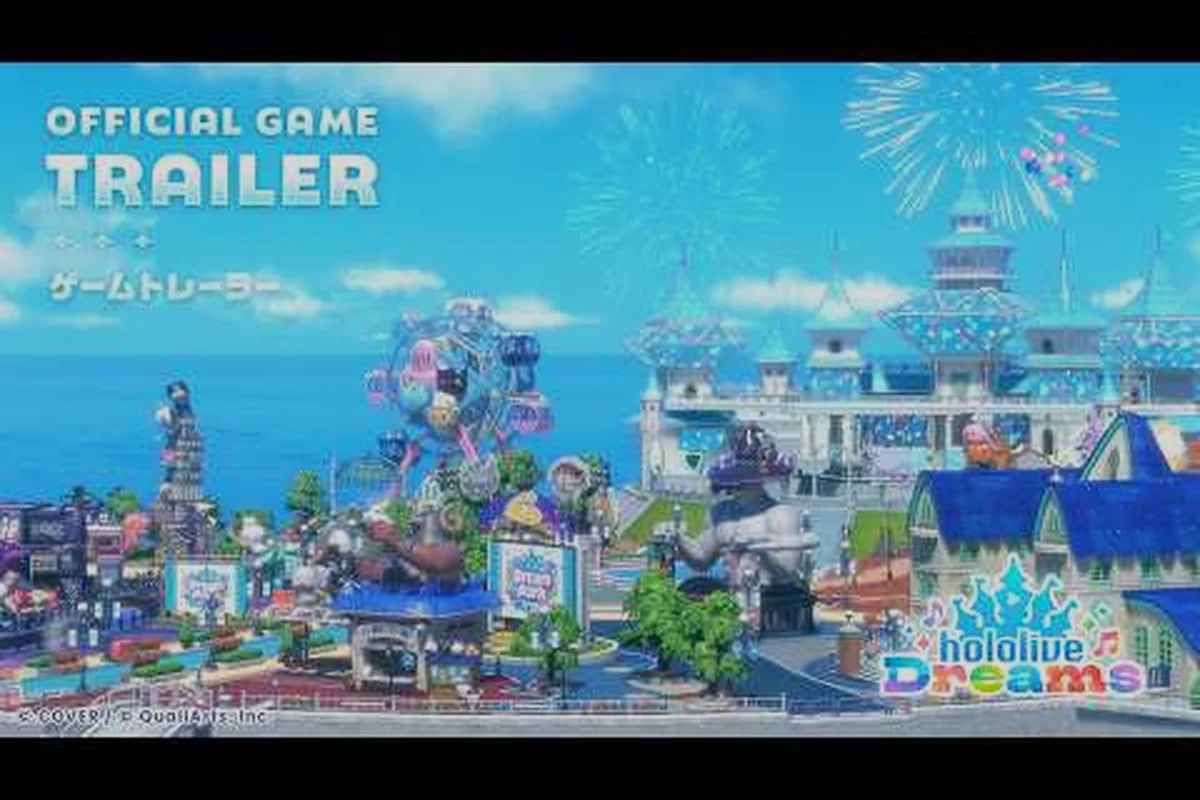
Hololive Dreams Event Strategy: Rewards & Timing
Hololive Dreams event strategy guide covering story event structure, point reward tiers, event banner pulls, time-limited holomem, and how to clear events efficiently.

Hololive Dreams Controller vs Touch: Input Compared
Hololive Dreams controller vs touch input comparison covering latency, accuracy, flick notes, combo ceiling, comfort, and how to pick the right input for your device.